

So life continued to be a roller coaster after my last post with the techmarine. The new year brought with it an avalanche of work in my professional life which didn’t help my hobby slump one bit. However, there was a light at the end of the tunnel as the deadlines for my professional work were pretty much all in April. So as April progressed I was able to work on myself mentally and find my groove so to speak culminating in the Deathwing Terminators I now present before you.
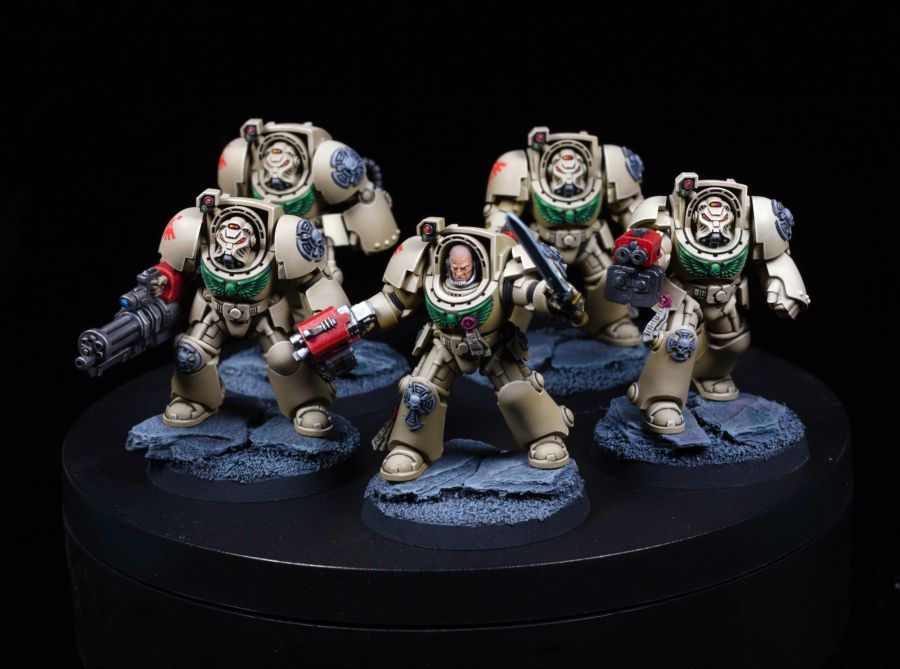
These are the first of the new scale terminators I’ve done and honestly they are a bit of a pain to work with fully assembled. The issue is that even though they made the terminators larger overall, some details are harder to access. These include the exposed undersuit visible on the hips. The next time I work on these scale terminators, I’ll be sure to do sub-assemblies where it makes sense to lessen any painting obstructions
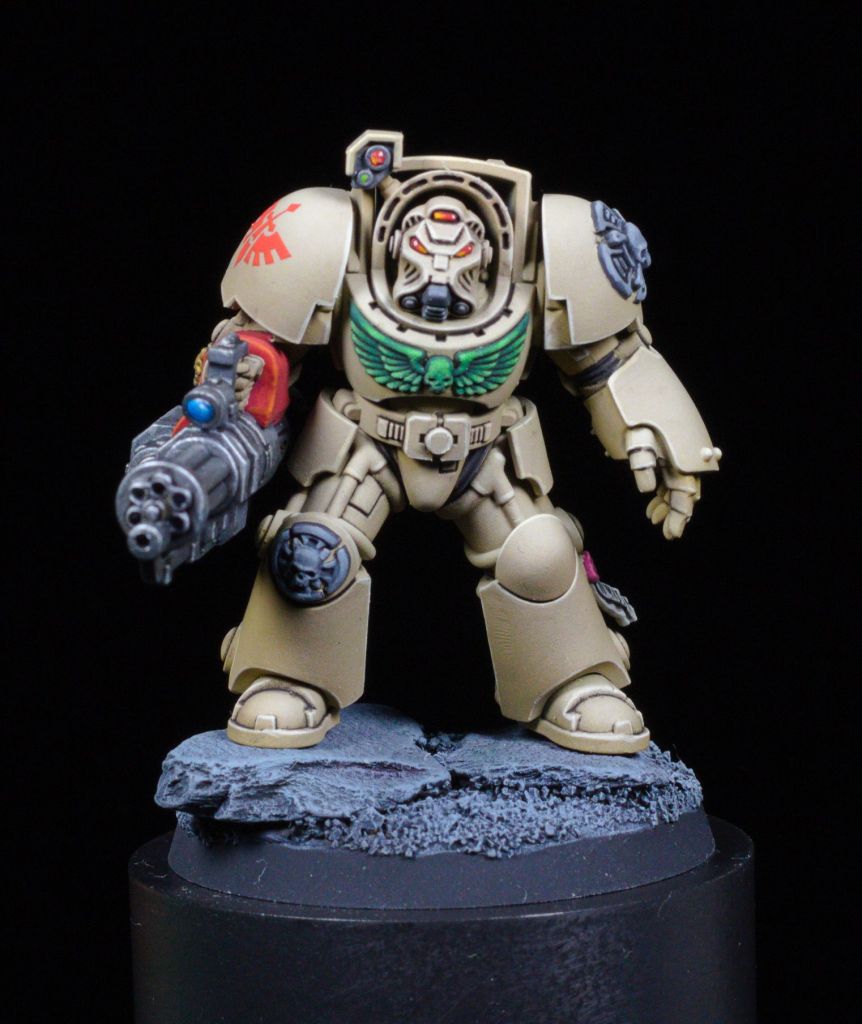
As far as the actual painting not much has changed since last time. The bone armor was done with an airbrush using Vallejo German Green brown followed by Vallejo sand yellow and ending with a highlight of Vallejo Aged white.
The Green of the aquila was done a little differently this time. I pushed the highlights even brighter on the recommendation of a friend when I was hobbying at their place. The base was done with Army Painter Angel Green followed by a midtone of Army Painter Guardian Green going towards the feather tips. I then did two levels of highlights, first was Army Painter Light Green and then mixed in a bight of AK Ivory to make the brightest highlight at the very tip of the feathers. As for the other details, such as the red on the weapons or the skin, they were done using the same recipes as my other projects.
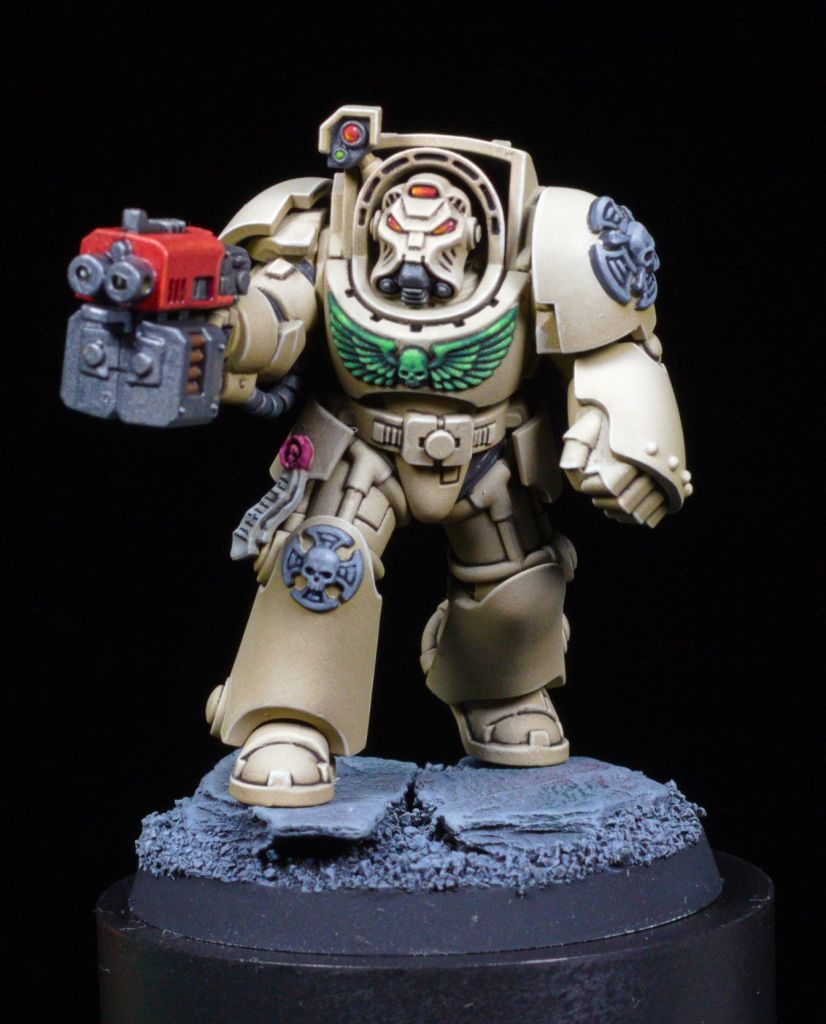
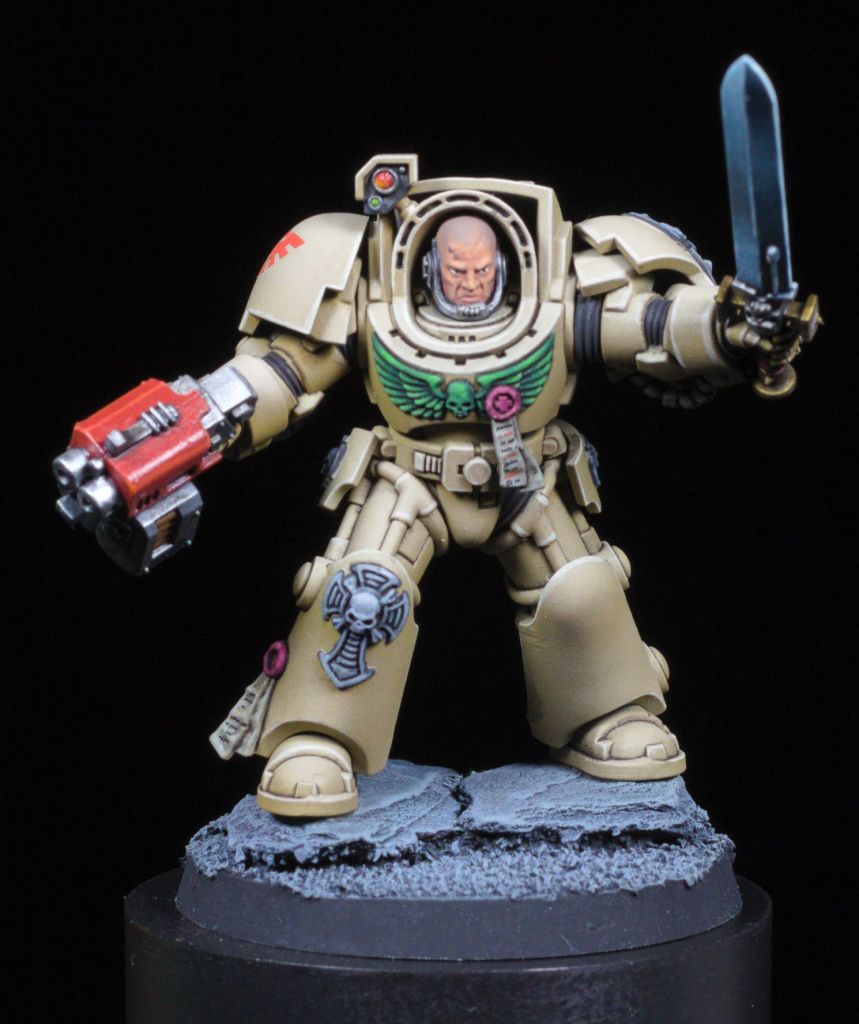

To finish off the models, I applied a gloss varnish using an airbrush, serving two key purposes. First, it provided a smooth surface for decals, ensuring they seamlessly integrated with the paint job. Second, it allowed the oil wash to flow more effectively into the model’s recesses. The final result went exactly as I had hoped —each recess is blacklined nicely, enhancing the contrast and making the armor stand out. Additionally, the decals blend so naturally into the surface that they appear hand-painted. If anyone is interested in how I did the decals, I might do a quick guide on my process.
Till next time.
