


So February has been rough because that is just how life is sometime but that doesn’t mean I stop painting….I just do it even slower than normal. That being said I actually did two things finished the first being a Phobos Lieutenant for my Dark Angels army.
So I decided to propose a little painting challenge to my Warhammer group in an attempt to help people get more minis painted. The setup is simple, at the beginning of the month they pick out one unit they own that is unpainted and they would have until the end of the month to get it painted to a 3 color minimum. To make it more accessible it could be from any model line and you don’t have to do any fancy basing. The idea went over really well and since I put the idea out there I am kind of obligated to participate
I started off simple with the Phobos Lieutenant as it qualifies as a single model unit. Now before you lambaste me with cries of laziness I had a good reason for going with a single model. Apart from February being a shorter month I was also working the evening shift which meant that my free time during the week was practically non-existent. So any hobby time I had was relegated to the weekends or any holidays assuming outside forces didn’t intervene (Spoilers: Several things decided to intervene).
But being relegated to a single mini meant I could try some other more time consuming techniques I wouldn’t try with multi model units. Mainly I decided I was going to do a green armor nmm instead of airbrushing on the highlights.
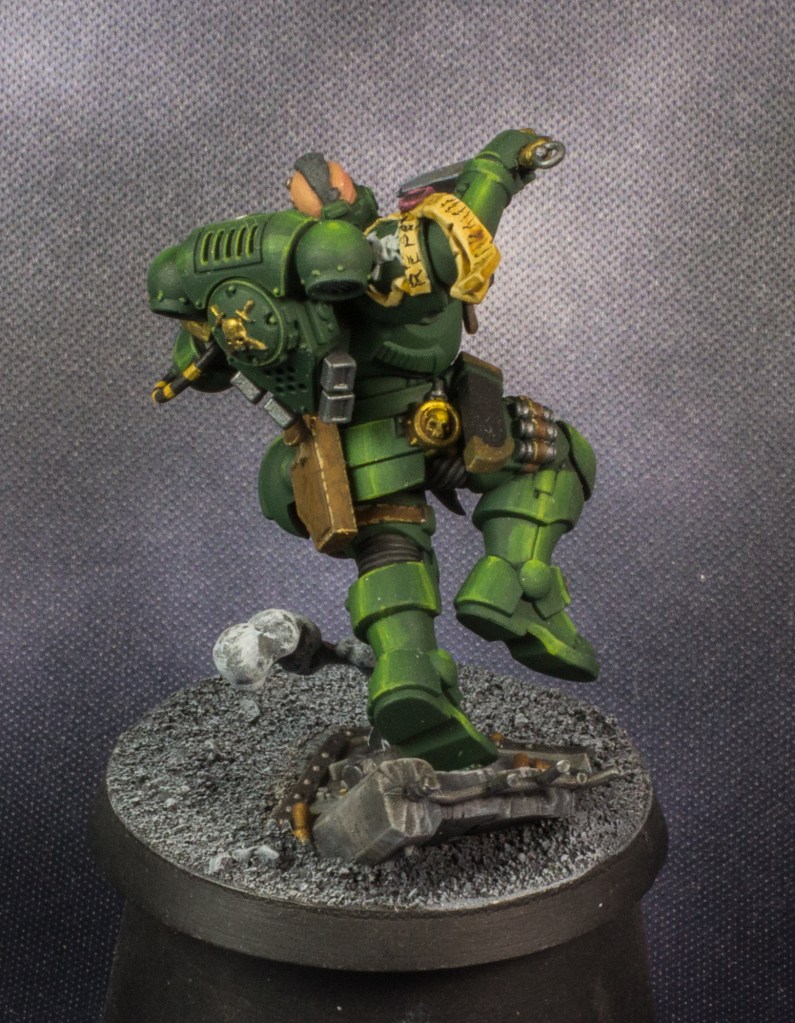

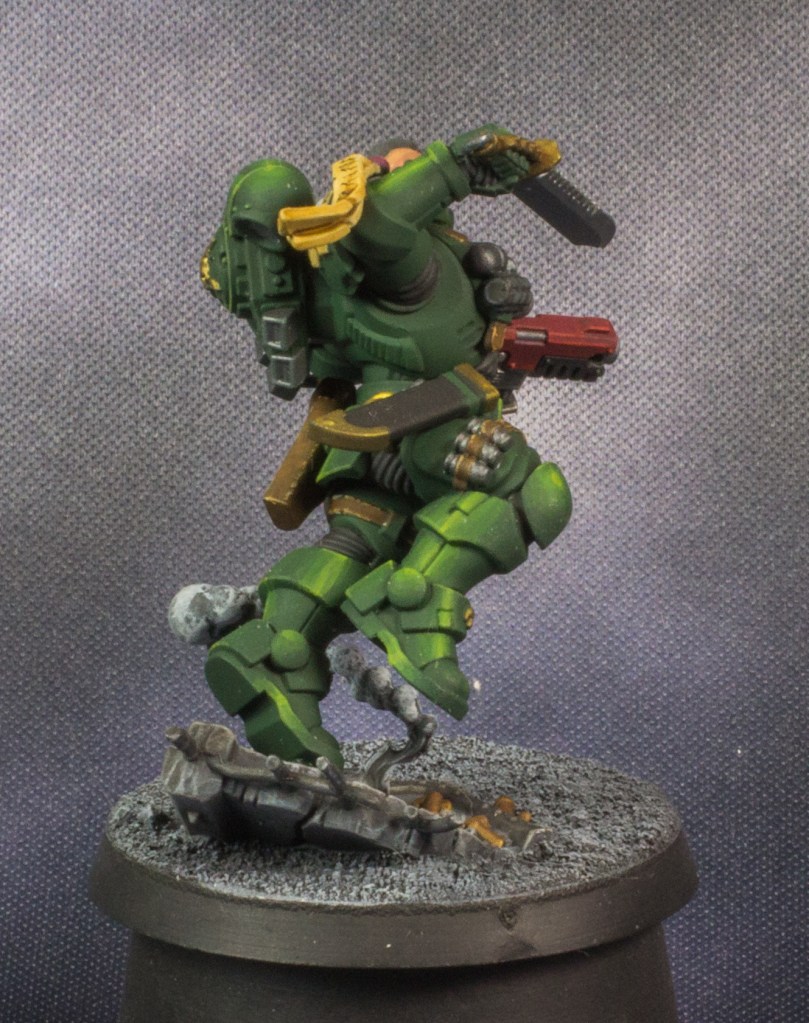

The major problem I encountered was my lack of understanding of placing highlights on this model in particular. It has a very dynamic pose where it is jumping off a piece of a ruined building and because of that it placed the front of his armor in shadow if I was doing a zenithal lighting scheme. So there are pieces of the armor that probably should have highlights but I didn’t do it because I just could not figure out how to place them (such as the section of armor around his right armpit).
Another thing I surprisingly had trouble with were the leather elements because I just have not put any effort into nailing down a recipe for leather. This time around I followed the guidance of the Vallejo leather recipe that comes with the leather paint set and for the most part it seems to work fine. One thing that really helps is stippling on the paint to get a more textured effect which breaks up the paint job in a way that makes the leather look like actual leather instead of paint on plastic.
The skin on his head looks good considering how terrible I am at skin. The videos on skin by Squidmar and Darren Latham have been a huge help to me in this regard. Also I decided to experiment with wet blending the metallics on his Crocodile Dundee sized knife, it’s a subtle transition but it does add some more depth to it.
Overall it is a pretty decent addition to my army but there are some concepts I need to wrap my head around if I want to bring my painting to the next level, mainly light placement and getting through the “ugly” phase when painting because that was tough to get through on this model.
Till next time my wayward compadres.
