

So for the months of March and April I was in a bit of minipainting quagmire. I had begun doing work on my competition entries for the Capital Palette 2020 at Nova Open, but with ongoing pandemic I wasn’t sure if Nova was even going to happen. As a result, any work I did was pretty half-hearted as the uncertainty of Nova loomed over me. Then in June the Nova Open Foundation made the decision to cancel the event for this year, and although I was sad to lose what is probably the highlight of the year for me, there was this sense of relief as well. With the foreboding uncertainty no longer hanging over me, I shifted gears and decided to work on my army instead and so I busted out the Eliminator kit and got to work.
Thankfully the kit only has three models but it came with a ton of options in terms of heads, weapons and accessories but I decided on going with the standard sniper rifle variant. Like any other project, I decided to work in sub-assemblies but there was in issue with the cloaks. The camo cloaks on these models were draped over the should pad of the arms which were separate pieces sometimes. This meant that if I kept the arms as a separate sub-assembly I would run the risk of visible seam lines when I put them together. Also, the cloak had the back half of the chest of the model as an integrated part which means that if I assembled the body then access to the inside of the cloak would be a bit restricted as I would have to paint around the legs and arms. After weighing my options over how much of the model would in separate sub-assemblies I ended up putting together most of the model, leaving only the gun, an arm on certain models and various details as separate pieces. The backpack was also kept separate but held to the back of the model using blu-tac.
So with the sub-assemblies set I primed the Eliminators with Stynylrez black as I always do and got to work putting some color on the model. I’m gonna skip over how I did the armor since that has been covered previously with the second Invictor I did( Armor). The only difference this time around is that I decided to go with a pin wash on the armor using an enamel wash product. Normally I don’t use washes on the armor of my Dark Angels but since I have to apply a gloss varnish for the decals I took the opportunity to try out something new . I applied a coat of gloss varnish to the whole model, applied the decal and then applied another coat of gloss varnish. Once the varnish was dry I took Tamiya’s Black Panel Liner and, using the brush applicator that was in the cap, applied the wash to the recesses of the armor by simply touching the brush to the recess, allowing capillary action to draw the panel liner into the recess. Since this was an enamel based product I left it to dry overnight and then airbrushed on a matte varnish to continue painting.
The other new element on the models that I have never done before were the camo cloaks. My regular scout marines were the version without the cloaks so I had no idea how to proceed on these. After a bit of research I landed on Ivan Tashun’s Blog where he went into detail on how he did his camo cloaks for his Dark Angels (how lucky is that!!). I didn’t have the same colors he did and I lacked the streaking grime he used to weather his cloaks so I had to improvise a bit. To start the cloaks were base coated with VMC Neutral Grey and then using Ivan’s method applied splotches of Basalt Grey, Basalt Grey/Black mix and Pale Grey Blue. Then I applied GW Nuln Oil straight from the pot because I really wanted to dirty up the cloak and also darken down the greys I used. When the wash was dry I lightly drybrushed the Vallejo Pale Grey Blue to highlight all the edges. For the inside of the cloak I didn’t apply any of the camo pattern because the sub-assembly did not allow for the brush to properly get everywhere. Instead I applied a heavy coat of Nunl oil and called it a day.

The models came with these basing pieces that I had to use because their feet were ad odd angles designed to attach to these basing pieces. So I super glued them to the base and applied my usual basing materials with watered down PVA glue. To make sure everything was locked into place on the base, I left it dry overnight and then applied thin super glue to all the basing material. After construction of the bases were done I primed everything with Stylnyrez black.
The process of painting the bases is something I have never documented here before, so now is as good a time as ever. First a heavy drybrush of a darker grey such as VMC Basalt Grey is applied. If there are any large stones (like on most of my bases) I will the apply splotches of different colored washes to them in order to introduce more visual interest. Next, a thinned down black wash is applied in order to shade the recesses and left to dry. Then a light drybrush of the original grey is applied to tie it all together. Then the first highlight is applied using a mid tone grey such as neutral mixed with a little bit of a lighter grey such as VMC Pale Grey Blue. A final highlight is done using a very light drybrush of Pale Grey Blue or Ivory in order to pick out the tip of the basing material and the edges of the stones.
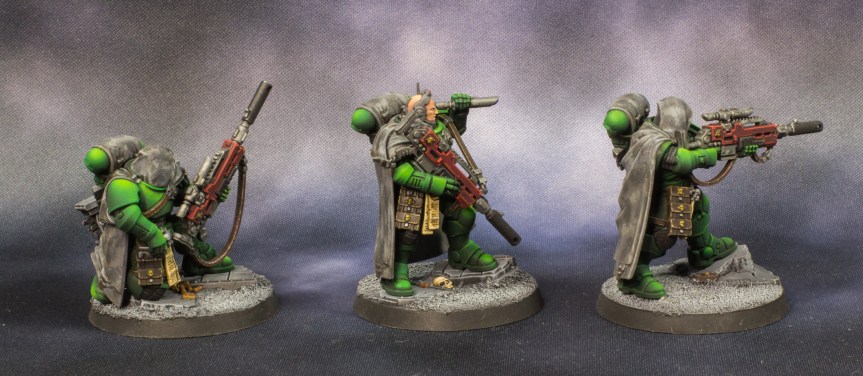
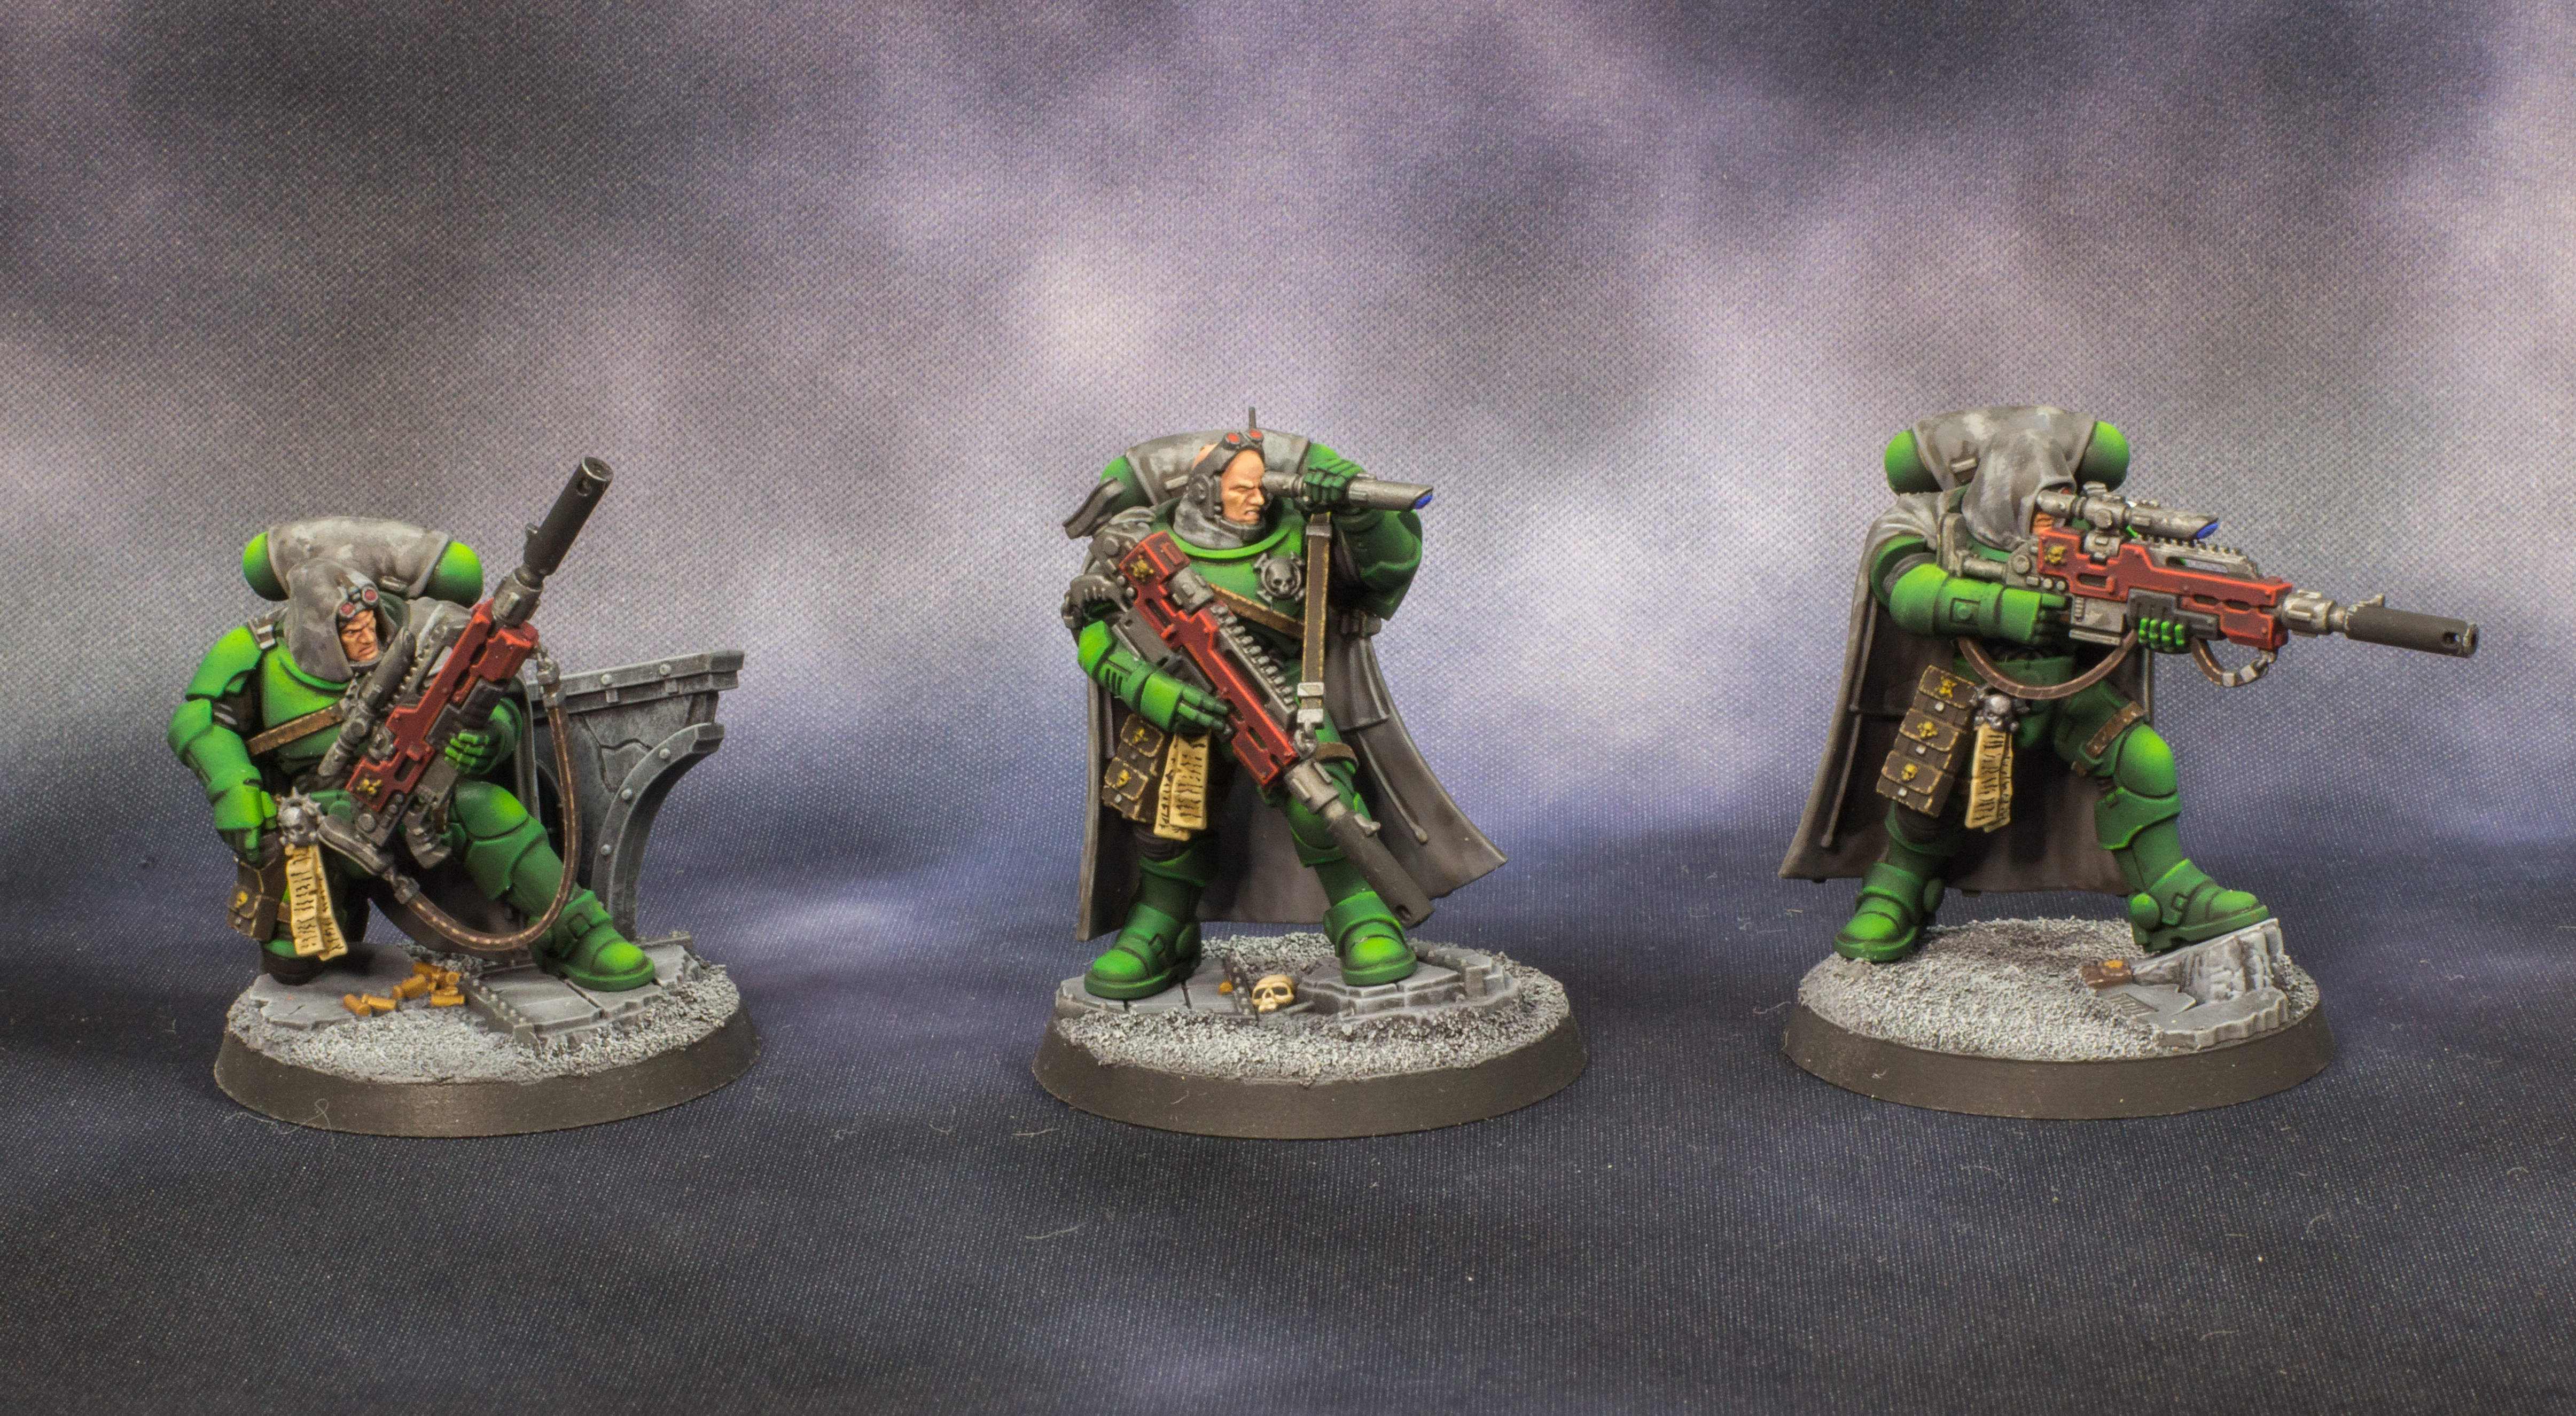
With the bases and minis all painted I assembled everything and took some glamour photos. These are probably the most detailed infantry models I have painted to date and probably some of my best work I have done for my army. I went a bit hard on the highlights for the armor but it ended up providing some nice contrast with the capes. If the Infiltrators I plan to make next have the same quality of details as these eliminators then it should be a pretty fun project, assuming I can deal with having to batch paint ten of them.
Till next time my wayward compadres.

[…] chapter symbols. And the base was done in the same way I have almost all of my previous bases (see here for the […]
LikeLike